40% of Canadian organizations say changes to Canada-U.S. data sharing are their top regulatory concern, and another 21% specifically point to the U.S. CLOUD Act as a critical threat. That tells us something simple but important: Canadian data sovereignty isn't just about storing data in Canada. It's about making sure foreign laws can't reach it anyway.
If you're comparing email, file storage, or cloud tools right now, you've probably seen promises like "hosted in Canada" or "Canadian data centre." Those phrases sound reassuring, but they don't answer the core question. Who has legal control over your data if a foreign government comes knocking?
That gap confuses a lot of people. A small business owner might choose a service because the server sits in Toronto or Montréal, then assume the job is done. In practice, the harder issue is whether the provider itself answers to Canadian law only, or also to another country's laws.
We think that's the clearest way to understand Canadian data sovereignty. Data residency tells you where the server is. Data sovereignty tells you whose legal system can still reach the data. If you remember only one thing from this guide, remember that location alone isn't enough.
Last updated: 20 July 2026
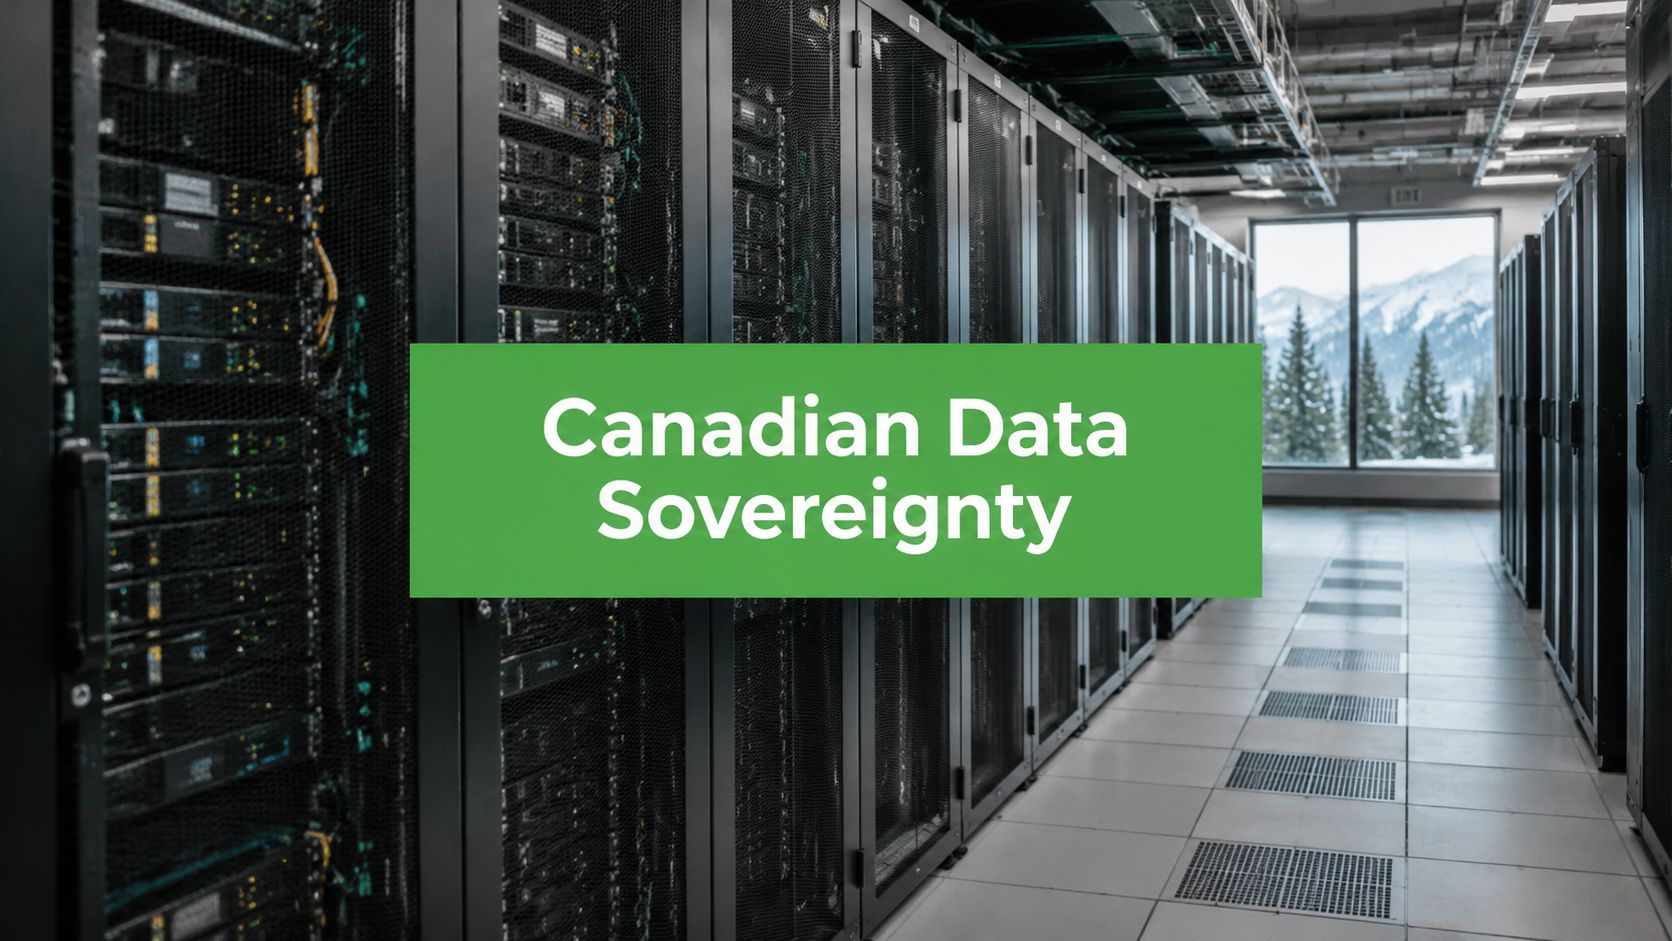
Why Canadian Data Sovereignty Matters Now
You choose a software provider for your clinic, firm, shop, or agency. The sales page says “Canadian data hosting,” the contract mentions security, and the demo looks good. It feels like a simple yes or no decision. Then the harder question shows up. If that provider is owned by a U.S. company, can U.S. authorities still demand access to the data even if the servers are in Toronto or Montréal?
That is the point many teams miss. Data stored in Canada is not always data controlled only by Canada.
A filing cabinet works as a simple comparison. Putting the cabinet in a Canadian office tells you where the papers sit. It does not tell you who has a legal right to force the cabinet open. Digital systems work the same way. Server location matters, but legal control matters more.
This is why Canadian data sovereignty has become a live business issue instead of a niche compliance topic. Buyers are asking tougher questions, procurement teams want clearer answers, and security reviews now go beyond “Where is the server?” They also ask who owns the provider, which courts can issue orders, and whether foreign laws such as the U.S. CLOUD Act could still reach the data.
For many readers, the issue becomes real during ordinary decisions. You pick an email service for staff accounts. You store contracts in a cloud drive. You back up payroll files, customer messages, or patient intake forms with a third party. Each choice affects which laws can apply to that information.
Practical rule: If a provider talks only about where data is stored, ask who owns the company, who administers the systems, and which country's legal orders it must obey.
Why this matters beyond government and large enterprises
It is easy to treat data sovereignty as a problem for federal departments, hospitals, or banks. Small and mid-sized organisations face it too. A law office holds client records. A manufacturer stores HR files. A marketing agency keeps customer lists, invoices, and internal email. If that information sits with a provider under foreign legal control, the risk does not disappear because the business is smaller.
Under PIPEDA, handing data to a service provider does not hand away responsibility. You are still accountable for how personal information is protected. That makes vendor choice a legal and operational decision, not just an IT purchase.
People also run into this issue with everyday tools. An email platform may offer Canadian hosting, but if the company that runs it is headquartered elsewhere, foreign legal access may still be on the table. That is why it helps to learn the difference early. This guide to data sovereignty, legal control, and provider jurisdiction gives a useful foundation before you compare vendors.
The short version is simple. “Hosted in Canada” answers one question. “Protected under Canadian legal control” answers a different one. If you only check the first, you can miss the part that matters most.
Understanding Key Data Protection Concepts
Three terms get mixed together all the time: data residency, data sovereignty, and data jurisdiction. They sound similar, but they answer different questions. If you separate them clearly, vendor claims become much easier to evaluate.

A simple safety deposit box analogy
Think of your data like valuables in a safety deposit box.
Residency is the box's physical location. The box is in a building in Canada.
Jurisdiction is the set of laws that can reach the company managing that box. If the bank belongs to a foreign parent company, another legal system may still have influence.
Sovereignty is the stronger condition. It means your valuables are not only in Canada, but controlled in a way that keeps them under Canadian legal authority rather than foreign authority.
Here's the difference in a quick view:
| Concept | Plain meaning | Question to ask |
|---|---|---|
| Data residency | Where data is physically stored | Which country hosts the servers? |
| Data jurisdiction | Which laws may apply to the provider or data | Can a foreign court order reach this provider? |
| Data sovereignty | Whether data remains under Canadian legal control in practice | Is the service insulated from foreign legal claims? |
Many marketing pages stop at residency because it's easy to advertise. Sovereignty is harder because it depends on ownership, legal structure, access paths, and key control.
The myth of physical location
Many find this point confusing. A server in a Canadian data centre does not automatically create Canadian data sovereignty.
The key reason is the U.S. CLOUD Act. Passed in 2018, it allows U.S. federal law enforcement to compel data production from any U.S.-headquartered company, regardless of where the data is physically stored (ThinkOn's explanation of residency versus sovereignty). The Government of Canada's white paper puts it even more plainly: "As long as a cloud service provider operating in Canada is subject to the laws of a foreign country, Canada will not have full sovereignty over its data." You can read a deeper breakdown in our guide to data sovereignty definitions and key insights on data control.
Data stored in Canada can still fall under foreign legal control if the provider is subject to foreign law.
That is the myth of physical location. People hear "Canadian data centre" and assume "Canadian legal protection." Sometimes that's true. Sometimes it isn't. The missing step is checking who operates the service and what legal obligations follow that company.
Why this matters for email and cloud tools
Email is a good example because it feels simple. Messages sit on a server. You connect through IMAP (a protocol that lets your devices sync mail) and send through SMTP (the standard protocol for outgoing mail). But behind that familiar workflow sits a provider with its own legal obligations, staff access rules, encryption setup, and infrastructure model.
If your business wants strong sovereignty, don't stop at asking where the mailboxes are hosted. Ask whether the company controlling the mail system is answerable only to Canadian law.
An Overview of Canadian Privacy Legislation
A lot of Canadian businesses hit the same point of confusion here. They hear that a service stores data in Canada and assume the legal answer is settled. Privacy law is less forgiving than that.
For private-sector organisations, the legal starting point is PIPEDA, the Personal Information Protection and Electronic Documents Act. It sets baseline rules for how organisations collect, use, protect, and disclose personal information during commercial activity. If another company handles that data for you, your responsibility does not disappear. You still need to make sure the information is managed in a way that meets your legal duties.

PIPEDA as the baseline
PIPEDA is built around accountability. In practical terms, that means you should be able to answer some basic questions without guessing: What personal information do we collect? Why do we need it? Who can access it? Which vendor stores or processes it? What happens if a customer asks how it is protected?
That last question is where data sovereignty becomes more than a storage issue. Data residency asks where the server sits. Data sovereignty asks which country's laws can reach the company operating that server. A useful everyday comparison is a safety deposit box. The box may be in a Canadian building, but if a foreign parent company controls access and is subject to foreign court orders, location alone does not give you full control.
For businesses trying to translate that into day-to-day compliance work, our guide to PIPEDA compliance requirements for Canadian businesses explains what accountability looks like in practice.
A short explainer can help if you want the legal backdrop in a simpler format.
Federal policy moved toward stricter control
Federal policy has also become more direct on this point. As noted earlier, the Government of Canada has acknowledged a hard limit many buyers miss. If a cloud provider operating in Canada is still subject to foreign law, Canada does not have full legal control over the data in that environment.
That distinction matters because it lines up with the concern many organisations have about the U.S. CLOUD Act. A service can advertise Canadian hosting and still face lawful access demands through its U.S. ownership or control structure. For a regulated business, that is not just a technical detail. It affects risk assessments, customer promises, procurement decisions, and incident planning.
Government classifications are not a template every private business needs to copy word for word. Still, they send a clear signal. As data becomes more sensitive, decision-makers tend to place more weight on legal control, not just physical storage location.
Provincial laws add more pressure
The federal baseline is only part of the picture. Provincial rules can add stricter requirements or more specific expectations, especially around transparency, consent, and vendor oversight.
Quebec's Law 25 is a good example. It has pushed many organisations to look more closely at third-party processors, cross-border data flows, and privacy impact assessments. Alberta and British Columbia also have their own private-sector privacy laws in certain contexts. The wording differs, but the practical lesson is similar across provinces. You need to know where the data is stored, who operates the service, and which legal system can compel access.
A simple way to organize the legal picture is this:
Federal baseline: PIPEDA sets broad private-sector rules for handling personal information.
Provincial overlays: Some provinces add their own duties or stricter expectations.
Sovereignty check: Storage in Canada does not settle the legal question if the provider is controlled from outside Canada.
Vendor accountability: Your contracts, access controls, and procurement process should reflect that reality.
If a provider cannot clearly explain its ownership, subcontractors, access model, and exposure to foreign legal demands, that is a privacy compliance issue. It is also a warning that data residency may be doing more marketing work than legal work.
Major Risks to Your Data Sovereignty
The biggest risk is not abstract. It's loss of control at the exact moment control matters most. If a foreign legal order reaches your provider, your business may have fewer choices than you expected.
A 2026 survey found that 40% of Canadian organizations identify changes to Canada-U.S. data sharing as their top regulatory concern, and 21% specifically flagged the U.S. CLOUD Act as a critical threat. Those numbers matter because they show this isn't a niche issue for policy specialists. It has become a real procurement and governance concern for ordinary organisations.
What the risk looks like in practice
Let's say your business uses a cloud email platform that advertises Canadian hosting. Your team assumes client conversations stay under local protection. If the provider is controlled by a U.S.-headquartered company, a foreign legal demand may still reach the provider even though the server is in Canada.
That creates several business problems at once:
Compliance exposure: You may struggle to prove that your safeguards match your legal duties.
Client trust damage: Customers often hear "stored in Canada" and assume stronger local control than is the case.
Operational uncertainty: Your legal, IT, and leadership teams may not know when foreign access pathways exist.
Contract gaps: Boilerplate vendor terms often describe service levels, not sovereignty limits.
What trips teams up most: they buy local hosting and assume they've bought local legal control.
Why reputation risk is hard to undo
Privacy failures don't only create legal headaches. They also change how clients view your judgement. If a law firm, accounting practice, or health-adjacent service tells clients their data is protected but hasn't checked foreign jurisdiction exposure, that can look careless even when the original choice felt reasonable.
This is one reason organisations now look for provable control rather than vague assurances. They want to know where data lives, who can administer the systems, who holds the encryption keys, and which courts can compel disclosure.
A lot of businesses don't need a perfect sovereignty model for every low-risk workflow. But they do need to know where the weak points are. That's the difference between managed risk and accidental risk.
Technical and Contractual Control Measures
Technical settings and contract terms work together. One without the other is like locking your front door while handing someone else a master key.

A useful way to assess your setup is to ask two separate questions. First, where is the data stored? Second, who can be legally forced to hand it over? The first question is about data residency. The second is about data sovereignty.
That difference matters in practice. A company can keep your files in a Canadian data centre and still be answerable to foreign courts if the provider is owned or controlled outside Canada. For many organisations, that is the point where the risk becomes real, not theoretical.
The hierarchy of stronger control
Some setups give you better sovereignty than others. The pattern usually looks like this:
| Option | What you get | Main limitation |
|---|---|---|
| Foreign provider with local hosting | Canadian data residency | Foreign legal control may still apply |
| Canadian-hosted service with mixed dependencies | Better visibility into storage and support | Subprocessors, remote admin access, or outside key custody can weaken control |
| Canadian-owned and operated infrastructure | Stronger alignment between storage, management, and legal control | May have fewer built-in tools than large global platforms |
| On-premises systems | The highest level of direct internal control | Higher cost, staffing needs, and maintenance burden |
This is a sliding scale, not a purity test. A small business using cloud email does not need to build its own server room. It does need to know whether "hosted in Canada" also means "controlled under Canadian law," because those are not the same promise.
The controls that matter most
Start with data classification. Put your most sensitive information in the environment you trust the most. That might mean keeping legal files, HR records, health-related information, or client financial documents out of services with unclear foreign access exposure.
Encryption also matters, but the details matter more. Encryption at rest protects stored data. Encryption in transit protects data while it moves between systems. Both are good baseline protections.
Key control is the harder question. If the vendor holds the encryption keys, the vendor may still be able to disclose readable data if compelled. If you control the keys, your position is usually stronger. A simple way to explain this is that the data may be in the vendor's building, but the key to open it stays in your pocket.
Admin access deserves the same level of scrutiny. Ask who can open mailboxes, restore backups, view logs, or provide support. A service can look Canadian on paper while routine administration happens from another country.
Subprocessors are another common weak point. Your main provider may store data in Canada but still rely on outside companies for spam filtering, analytics, customer support, or backup services. Each extra party can create another legal path to the data.
Plain-language test: if a provider cannot clearly explain where your data sits, who controls the keys, who can access the systems, and what happens if a foreign authority makes a demand, you do not have a clear sovereignty position.
Contracts matter as much as encryption
Your contract should turn these questions into written commitments. Marketing language will not help much during an audit, a procurement review, or a dispute.
Look for terms that address:
Data location: where production data, backups, logs, and support data are stored and processed
Foreign transfers: whether any data can leave Canada, including for troubleshooting or redundancy
Legal request handling: how the provider responds to disclosure demands and whether it will challenge or narrow them where lawful
Notification rights: whether you will be told about legal demands when the provider is allowed to notify you
Subprocessor approval: whether new vendors can be added without your consent or notice
Audit and reporting rights: what evidence you can request to verify storage, access, and control practices
Key management terms: who creates, stores, rotates, and can use encryption keys
Email contracts deserve a closer look because email often contains sensitive information mixed with everyday messages. Ask whether the service supports standard access methods such as IMAP and SMTP so you can leave if your risk assessment changes. Ask how encryption works in daily use, including whether staff can use it without extra complexity that leads people to bypass it.
The goal is simple. Reduce surprises. If your provider is under foreign legal control, know that before you sign. If your provider offers stronger Canadian control, get that commitment in writing.
Your Data Sovereignty Action Plan
A common Canadian small business scenario goes like this. You ask a vendor whether your data stays in Canada, they say yes, and the answer sounds reassuring. Then you learn the service is owned or operated by a US company. The servers may be in Toronto or Montreal, but legal control can still sit elsewhere. That gap between where data lives and who can be compelled to produce it is the part many teams miss.
That is why an action plan should be short, practical, and tied to buying decisions. You do not need a large compliance project to start. You need a repeatable way to check your highest-risk tools and separate data residency from data sovereignty.

Five questions to ask today
Start with the systems that hold the most sensitive day-to-day information. For many organisations, that means email, file storage, backups, CRM, HR, and accounting.
Where is the data stored and processed?
Ask about production data, backups, logs, filtering, analytics, and support workflows. A provider can store your main data in Canada while sending copies or metadata elsewhere for monitoring or troubleshooting.Who has legal control over the service?
This is the sovereignty question. A Canadian data centre does not automatically mean Canadian-only legal control. If the provider is a US company, or a Canadian subsidiary controlled by one, foreign legal demands may still matter.Who controls the encryption keys?
Encryption works like a locked filing cabinet. The key question is who has the key. If the vendor creates and holds the keys, it may be able to access data or disclose it in response to a lawful order.How does the provider handle government or court requests?
Ask for the process in plain language. Will the provider review requests carefully, narrow them where possible, and notify you when the law allows? A vague answer usually means more risk, not less.Which data belongs in this tool?
Treat this as a sorting exercise. Public marketing files, payroll records, legal advice, and customer emails do not all need the same level of control. A simple data classification step helps you match the tool to the sensitivity of the information.
A quick vendor review template
A basic green, yellow, red scorecard is often enough to compare providers without getting lost in jargon.
Green: Canadian-owned or Canadian-controlled, Canadian operations, clear answers on legal jurisdiction, and customer-friendly key management.
Yellow: Data stays in Canada, but ownership, support access, or subprocessor use creates uncertainty.
Red: Storage claims are vague, foreign access is broad, contract terms are unclear, or the provider avoids direct answers about legal control.
Email is a good place to start because the difference between residency and sovereignty shows up quickly. Your inbox often contains contracts, password resets, personal details, invoices, and internal decisions. If you are comparing options, this guide to Canadian business email options and how to set them up can help with the practical side.
Write down your findings for each critical tool. One page per vendor is enough. The goal is simple. Know which services merely store data in Canada, and which ones provide stronger Canadian legal control.
Securing Your Data on Canadian Soil
The thread running through all of this is simple. Canadian data sovereignty is about legal control, not just physical location. A server can sit in Canada and still leave you exposed to foreign jurisdiction if the provider itself answers elsewhere.
That is why smart buyers ask a slightly different set of questions now. Not only where is my data stored, but who owns the infrastructure, who can access it, and whose courts can compel disclosure. Once you start asking those questions, vendor differences become much easier to see.
There are always trade-offs. Large platforms often offer broad integrations and convenience. Smaller privacy-focused providers may offer tighter control and simpler accountability, but fewer bundled extras. The right answer depends on the sensitivity of your data and how much sovereignty you need.
For email, this matters more than many teams realise. Email contains contracts, passwords resets, client names, attachments, financial discussions, and internal decisions. If you're reviewing options, our guide to the best Canadian business email options and how to set them up can help you compare the practical side.
About Typewire: we're a Canadian private email provider, and we operate our own infrastructure rather than renting third-party public cloud services. We think that matters because legal control and technical control should line up, especially for something as central as email.
If you want email that stays under Canadian law on privately operated infrastructure, take a look at Typewire. We built it for people and businesses who want ad-free email, custom domains, standard email compatibility, and a simpler path to real control.